
Get started with your ATKey.Pro — secure, simple, and passwordless.
This guide walks you through everything you need to set up and activate your fingerprint-enabled FIDO2 security key.
You’ll learn how to enroll your fingerprint, register the key with your accounts, and start using passwordless login across platforms.
-
1. Get Prepared
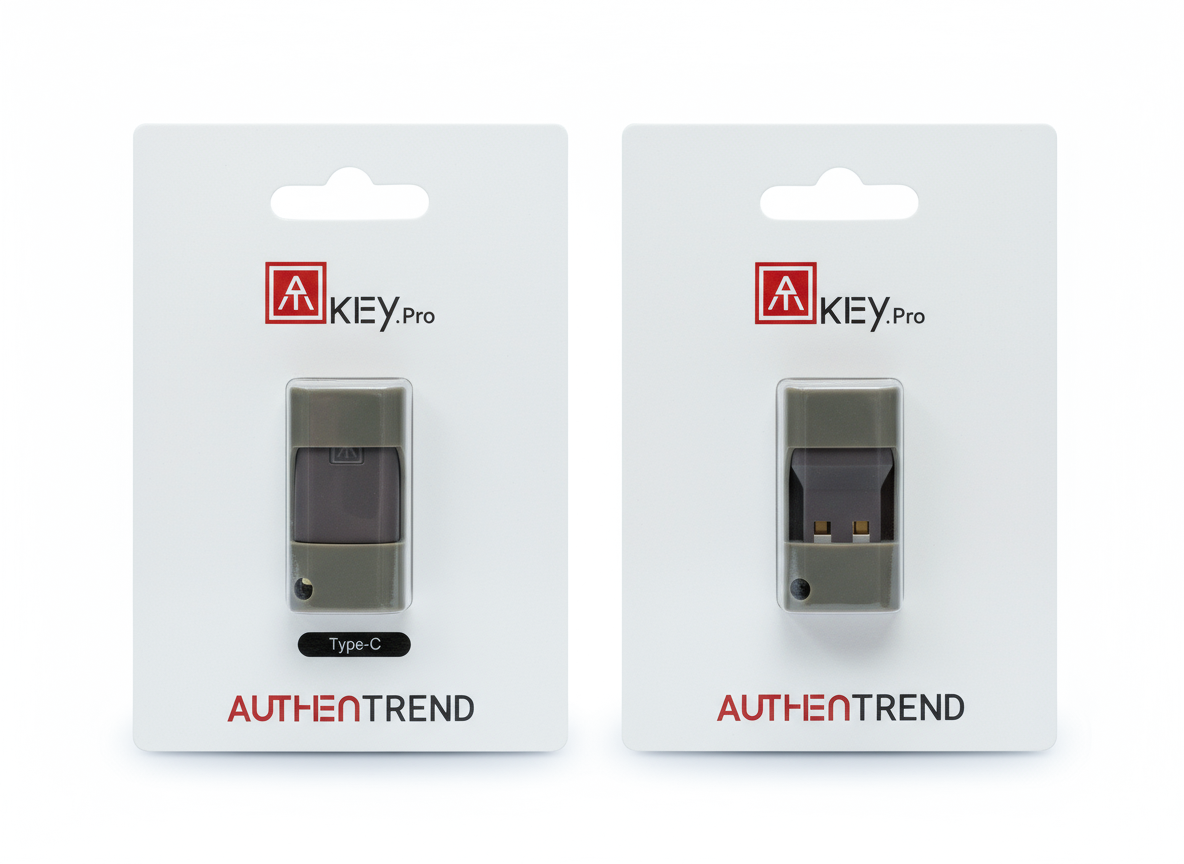
Unbox and check your ATKey.Pro, then connect it to your Windows or Mac to start.
-
2. Enroll Your Fingerprint
Your fingerprint is the key to your ATKey.Pro — it’s securely stored inside the device and never shared.
-
3. Register with Accounts
Register Your ATKey.Pro with online accounts to enable passwordless login.
-
4. Enjoy Passwordless
Enjoy a secure and effortless passwordless journey with ATKey.
1. Get Prepared
Before you begin, make sure both your ATKey.Pro and device are ready for setup
Unbox your ATKey.Pro and ensure the USB connector and fingerprint sensor are clean.
You’ll find an 8-digit number on the body of the key — this is your ATKey keycode, a unique identifier for your ATKey. You may need your keycode later for support, warranty, or enterprise registration.
Plug it into your device’s USB port. The light should turn on when the device is powered. If the LED doesn’t turn on, reinsert the key or try another USB port.
No driver installation is required — your operating system will automatically recognize the key. Make sure your PC, Mac, or mobile device is up to date with the latest system and browser versions to ensure full FIDO2 compatibility.
2. Enroll Your Fingerprint
You can perform fingerprint enrollment on different operating systems, or even without a computer — simply power the key using a USB charger or power bank and follow the sensor’s LED guidance.
-
Go to Settings → Accounts → Sign-in options → Security Key
Plug in your ATKey and click Manage, follow the on-screen instructions to load
Follow the on-screen instructions to create a Security Key PIN — required by FIDO2 and used for fingerprint management once enrollment is complete.
Follow the on-screen instructions to enroll your fingerprint. Fingerprint enrollment on ATKey.Pro requires about 12 successful touches on the sensor. For best results, touch from different angles during the enrollment process to ensure your fingerprint is fully captured and easily recognized in future authentications.
You can enroll fingerprints from different fingers to match your typical usage habits and ensure easier access across various devices.
-
Open Chrome browser
Navigate to Settings → Privacy & Security → Security → Manage Security Keys (chrome://settings/securityKeys)
Follow the on-screen instructions to create a Security Key PIN — required by FIDO2 and used for fingerprint management once enrollment is complete.
Follow the on-screen instructions to enroll your fingerprint. Fingerprint enrollment on ATKey.Pro requires about 12 successful touches on the sensor. For best results, touch from different angles during the enrollment process to ensure your fingerprint is fully captured and easily recognized in future authentications.
You can enroll fingerprints from different fingers to match your typical usage habits and ensure easier access across various devices.
-
Connect your ATKey.Pro into a USB power source (e.g., power bank or charger). The LED will light up BLUE.
Press the side button three times quickly to enter Standalone Enrollment Mode. The LED flashes WHITE while switching modes — wait a few seconds for it to activate.
Start touching the fingerprint sensor in rhythm with the LED’s flashing tempo. The LED lights GREEN for a good capture and RED for an incomplete or bad capture. It takes about 10 good touches to complete the fingerprint enrollment.
After the fingerprint enrollment is complete, the LED will return to BLUE, indicating the ATKey.Pro has exited Standalone Enrollment Mode and is ready for use.
To enroll additional fingerprints from different fingers, press the side button three times quickly again. This time, you may be asked to verify a previously enrolled fingerprint to enter Standalone Enrollment Mode — the LED will flash green when verification is required.
To exit Standalone Enrollment Mode, press the side button once. The LED will turn BLUE, indicating the device has returned to normal mode.
This video shows how to enroll fingerprints in standalone mode.
Fingerprint Enrollment Tips:
Make sure your finger and the sensor are clean and dry before you start
Choose a finger that you naturally use when touching the key
Enrollment requires about 10 good touches to complete. For each touch, place your finger on the sensor for about one second, allowing the device to capture a full print. The LED will indicate the result — 🟢 green for a good capture, 🔴 red for a bad one.
Test your fingerprint immediately to confirm smooth recognition.
If recognition fails often, re-enroll the same finger for improved accuracy.
3. Register with Accounts
-
![A person holding a smartphone with the screen displaying a zero balance, with a Google search page on a laptop in the background showing search suggestions related to SumUp.]()
Google
-
![Close-up of a smartphone screen displaying a folder named 'Microsoft' with various app icons including Office, OneNote, Outlook, PowerPoint, Teams, Word, SharePoint, SharePoint, Edge, Microsoft Stream, and other Microsoft apps.]()
Microsoft
-
![Close-up of a smartphone screen displaying social media apps, including Facebook with a notification badge showing the number one.]()
Facebook
-
![Close-up of a computer screen displaying the YouTube homepage with recommended videos.]()
YouTube
-
![Close-up of a computer monitor displaying the GitHub webpage with the GitHub logo and search bar.]()
Github
-
![Screenshot of GitLab interface showing project issues, merge requests, pipelines, and related options.]()
Gitlab
-
![A stylized fingerprint]()
Okta
-
![Close-up of the IBM logo on a black speaker, with a focus on the logo, in black and white.]()
IBM
-
![A stylized fingerprint]()
Atlassian


LED Indicator Guide
-
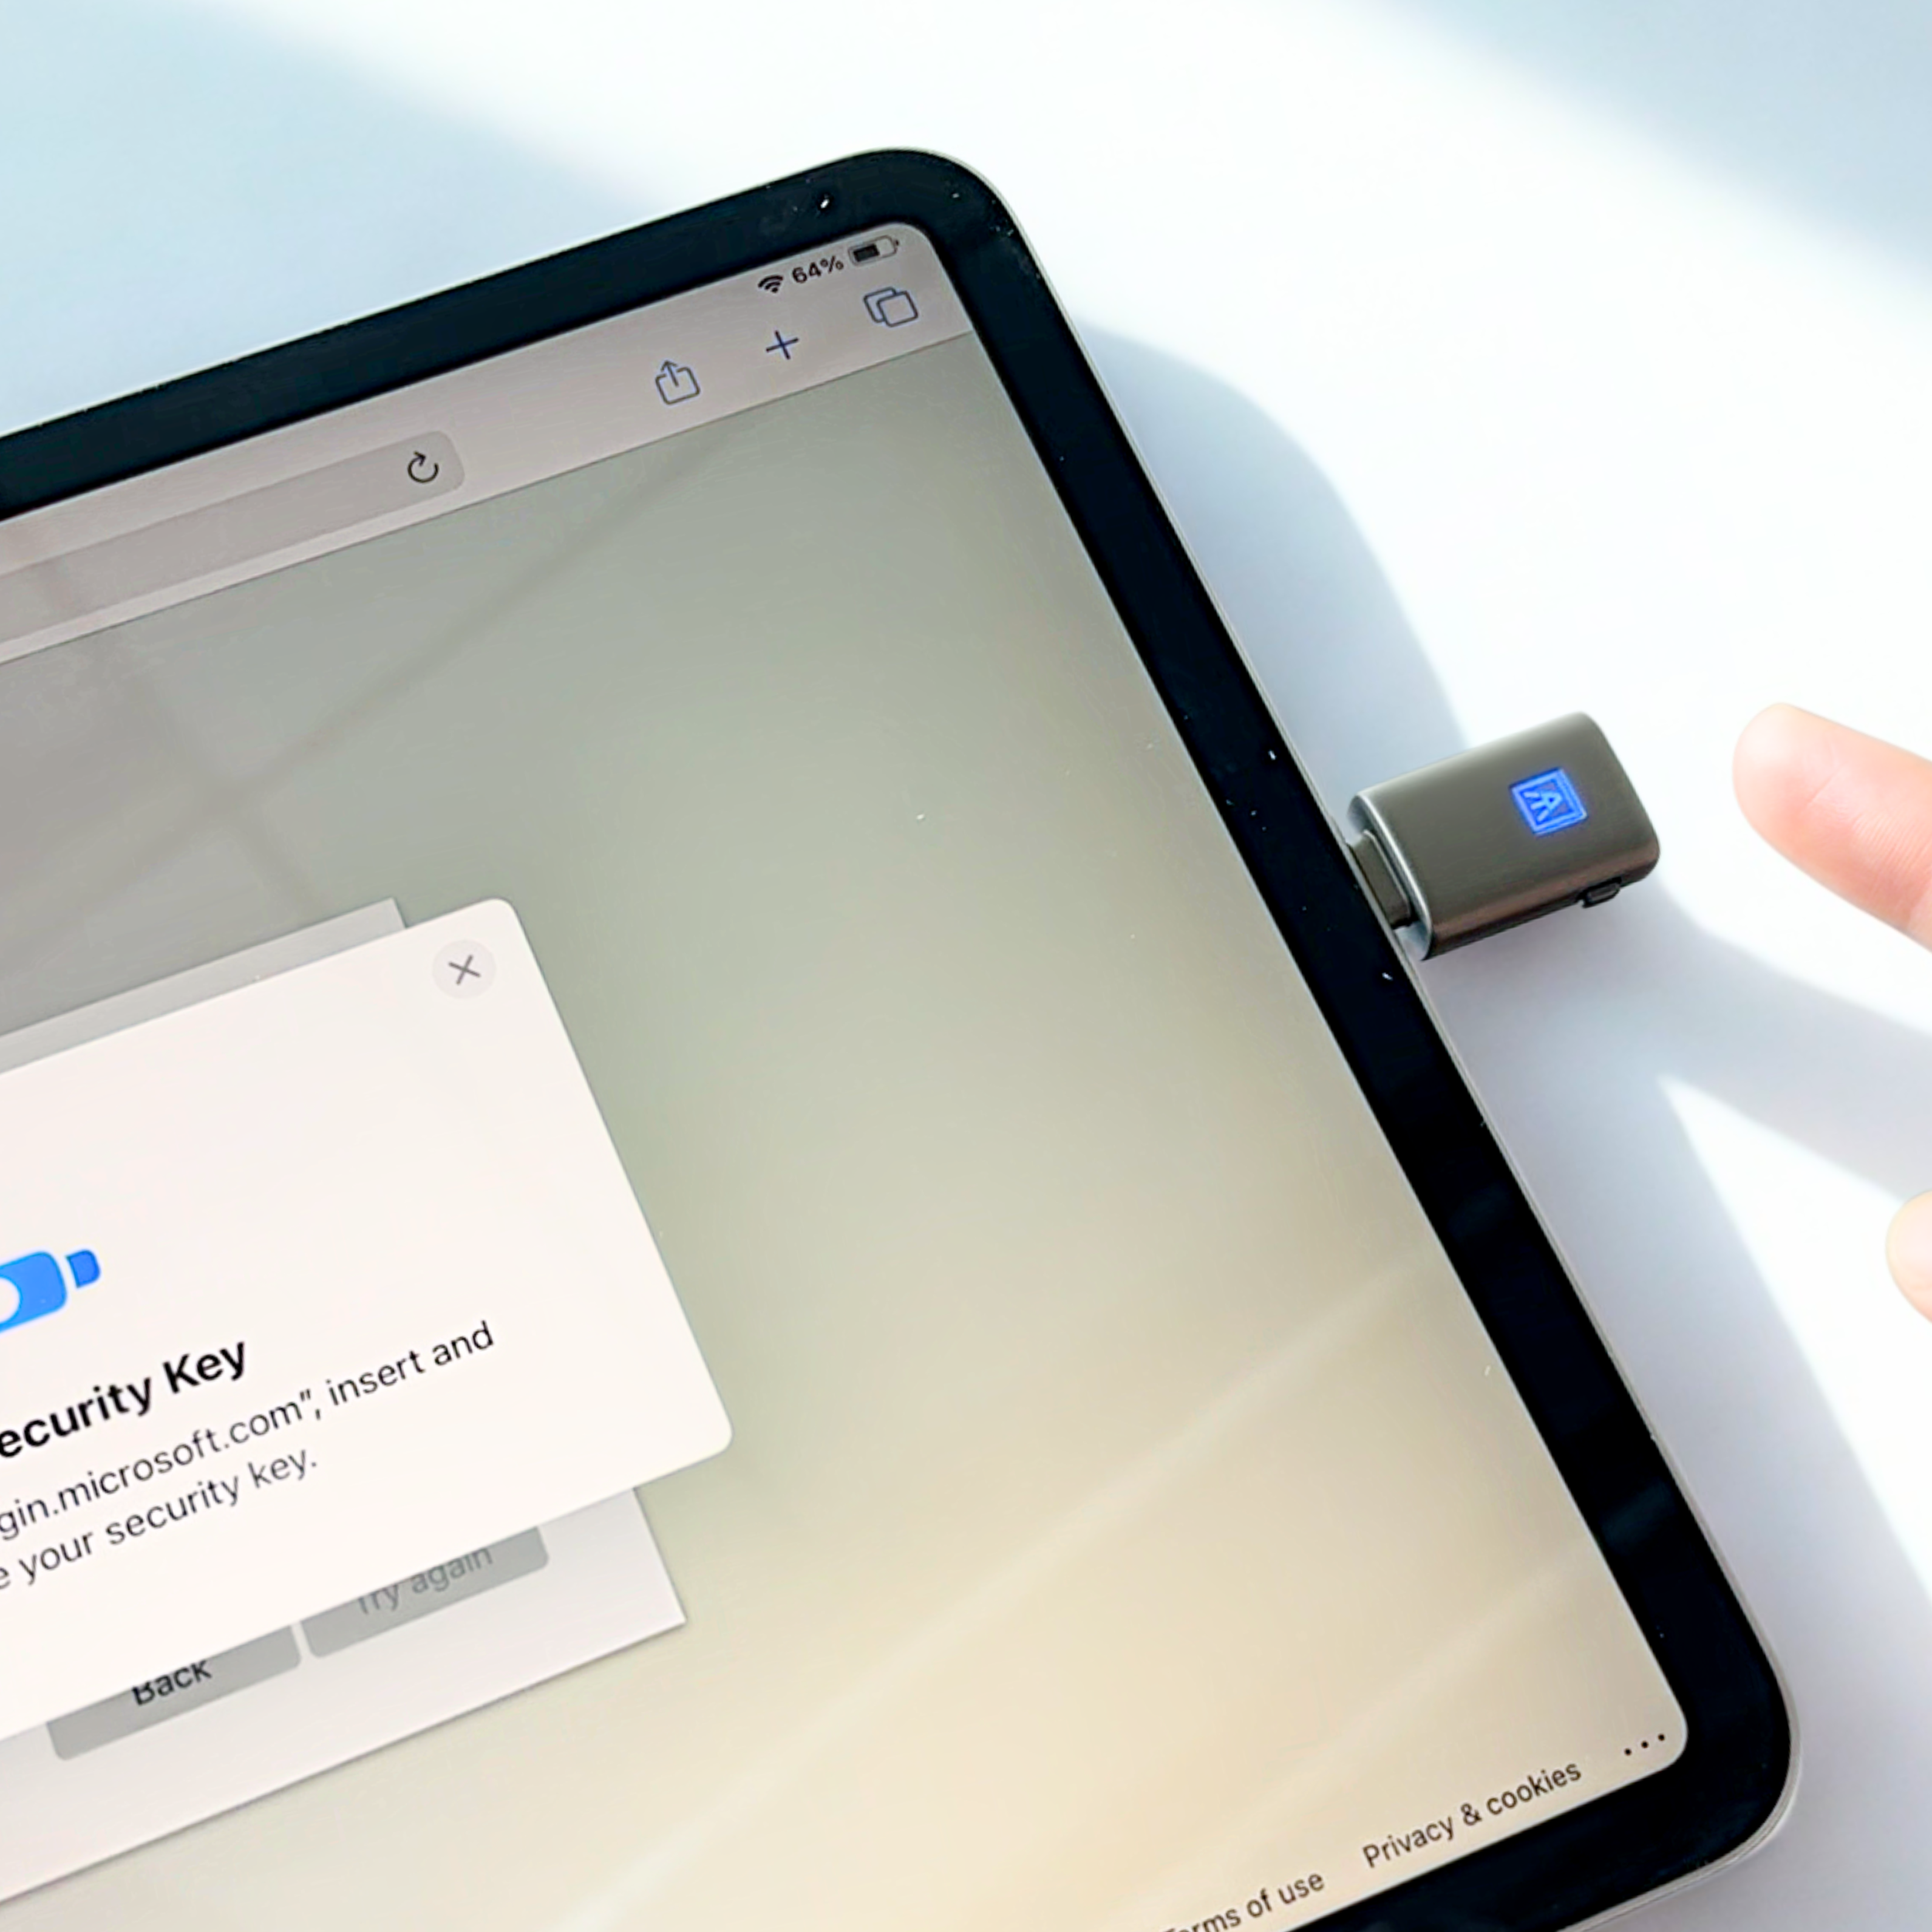
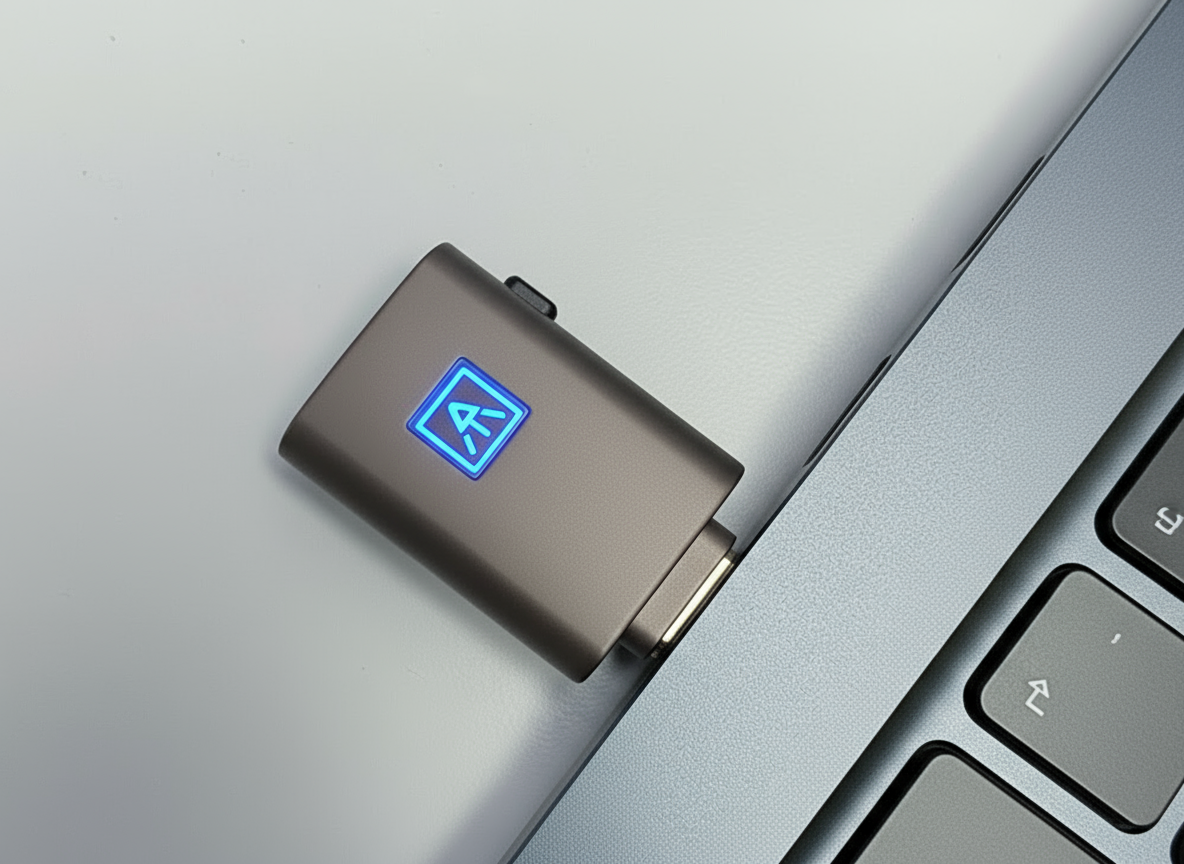
![An ATkey.Pro plugged into a laptop. The LED light is blue.]()
🔵 Blue (Solid)
Device powered on — ready for use
-
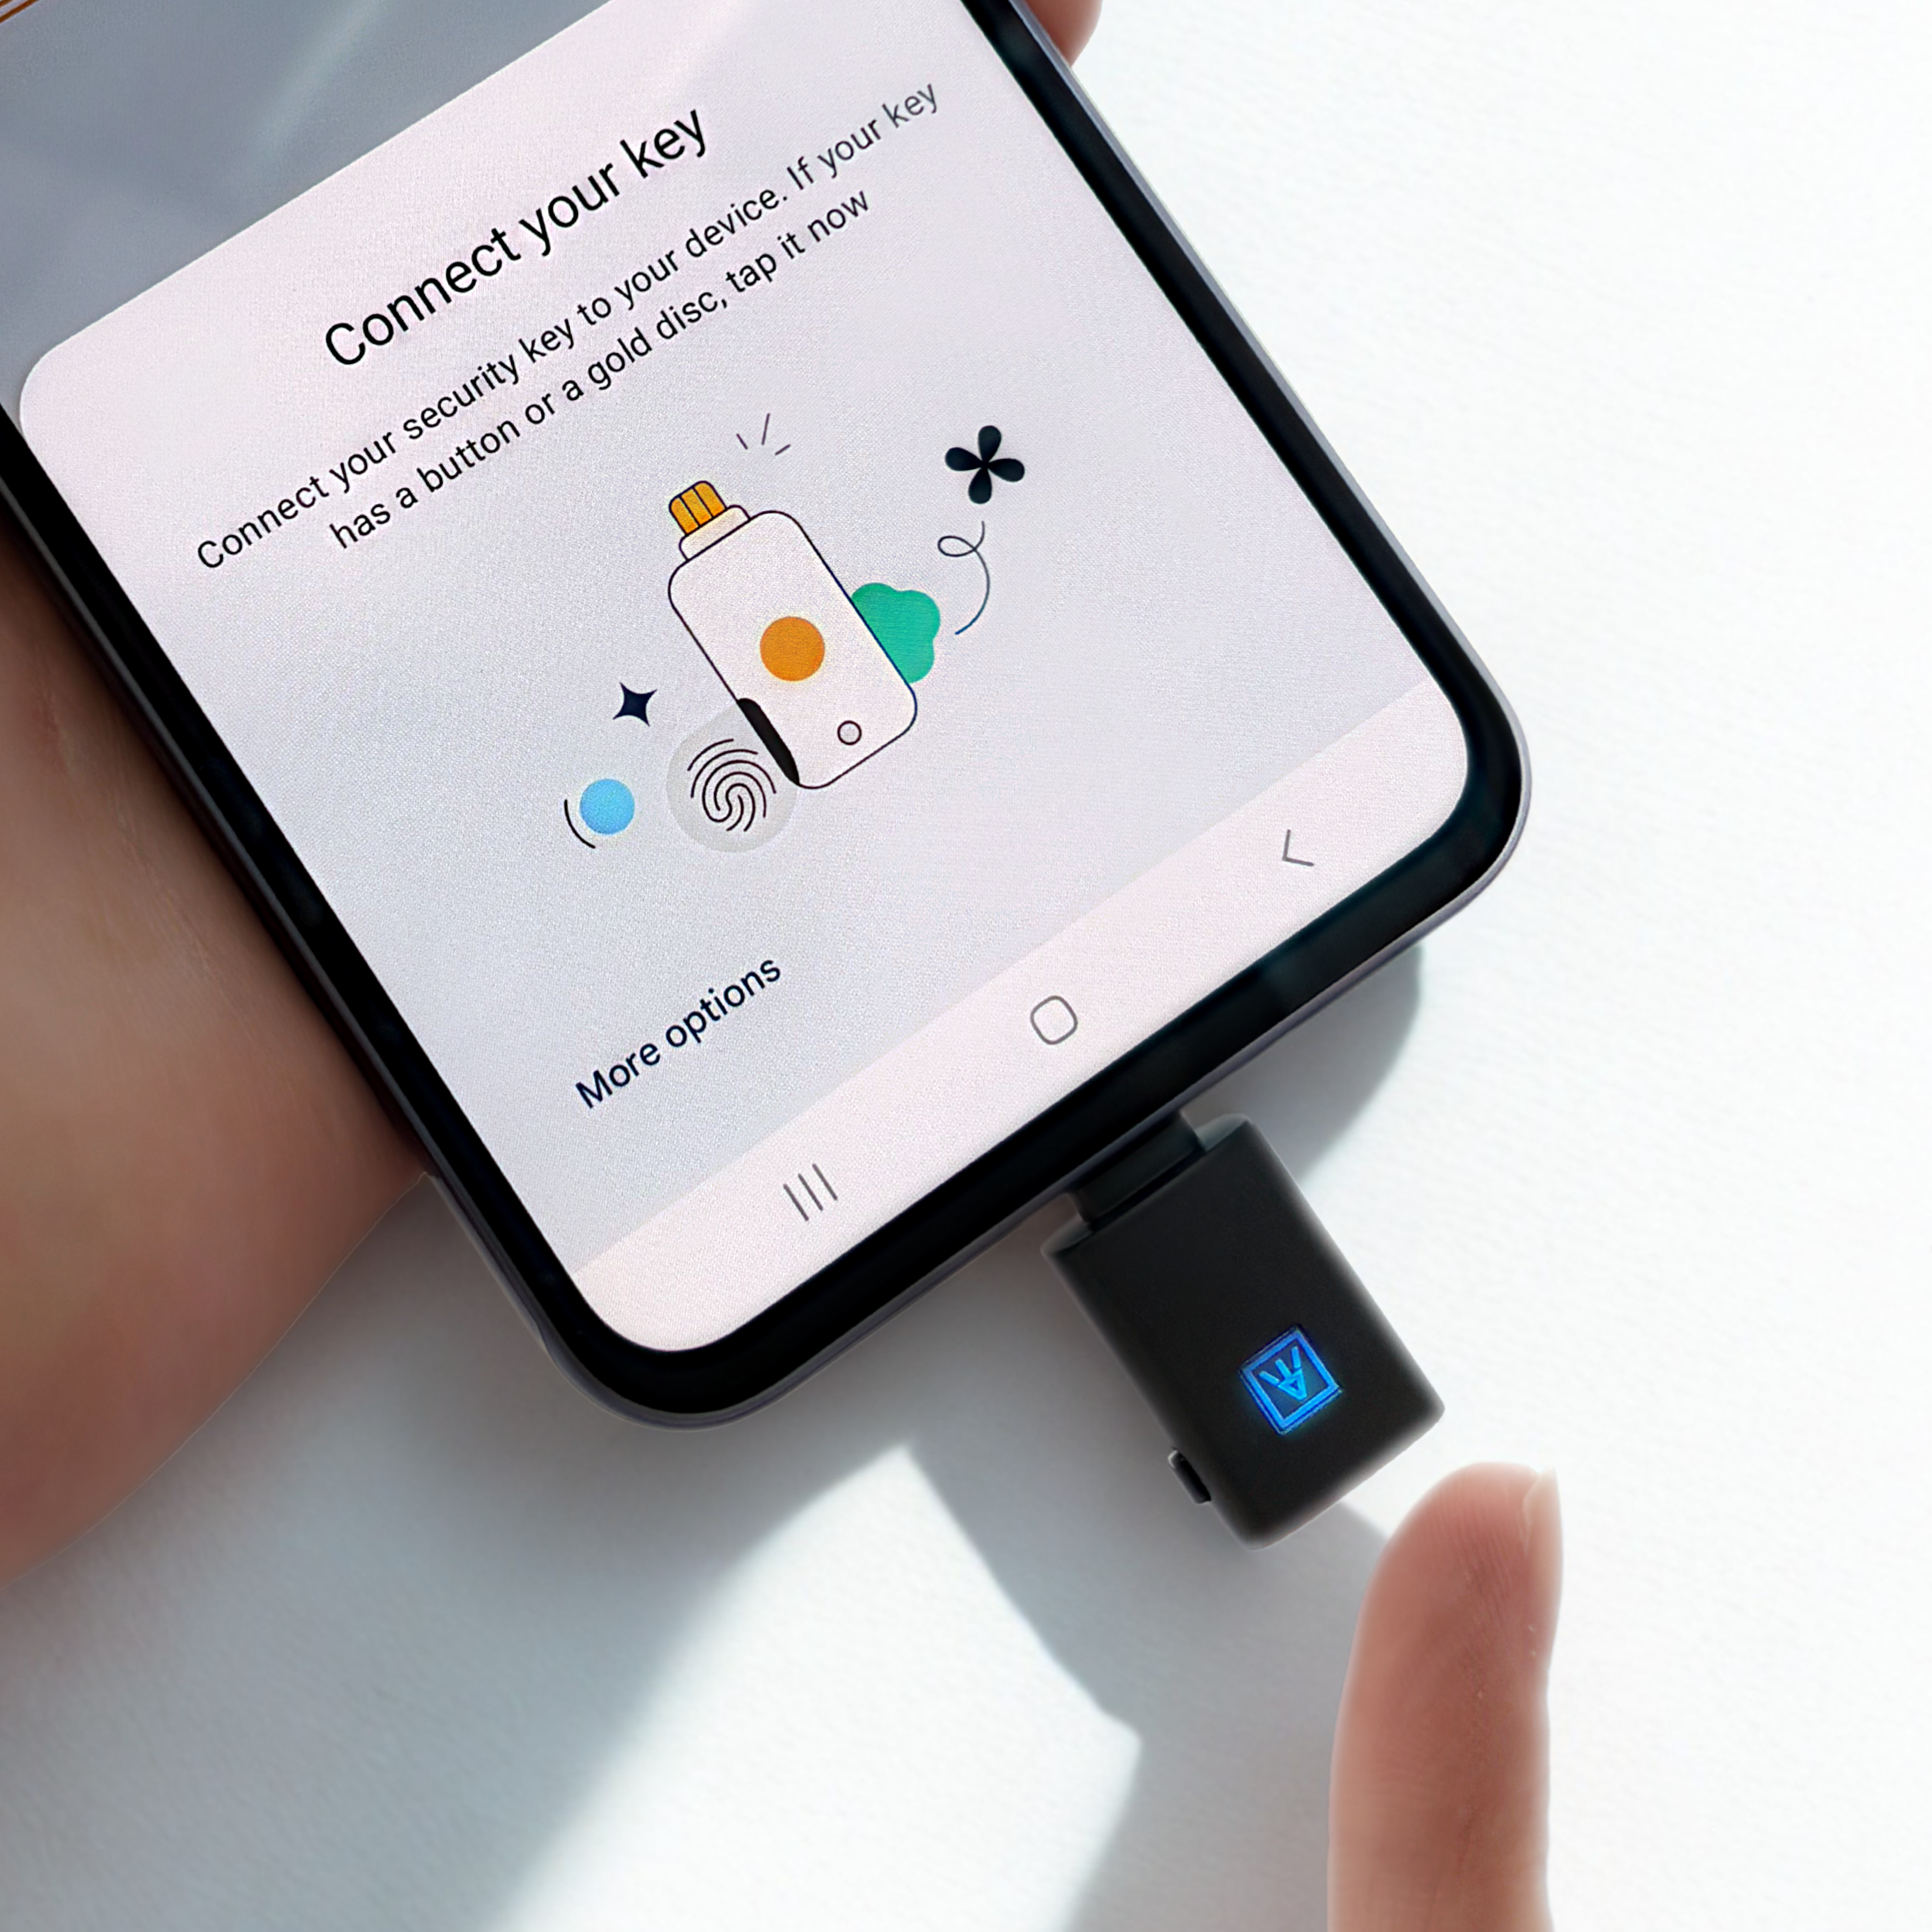
![An ATkey.Pro plugged into a laptop. The LED light is blue.]()
🔵 Blue (Flashing)
Need to verify fingerprint
-
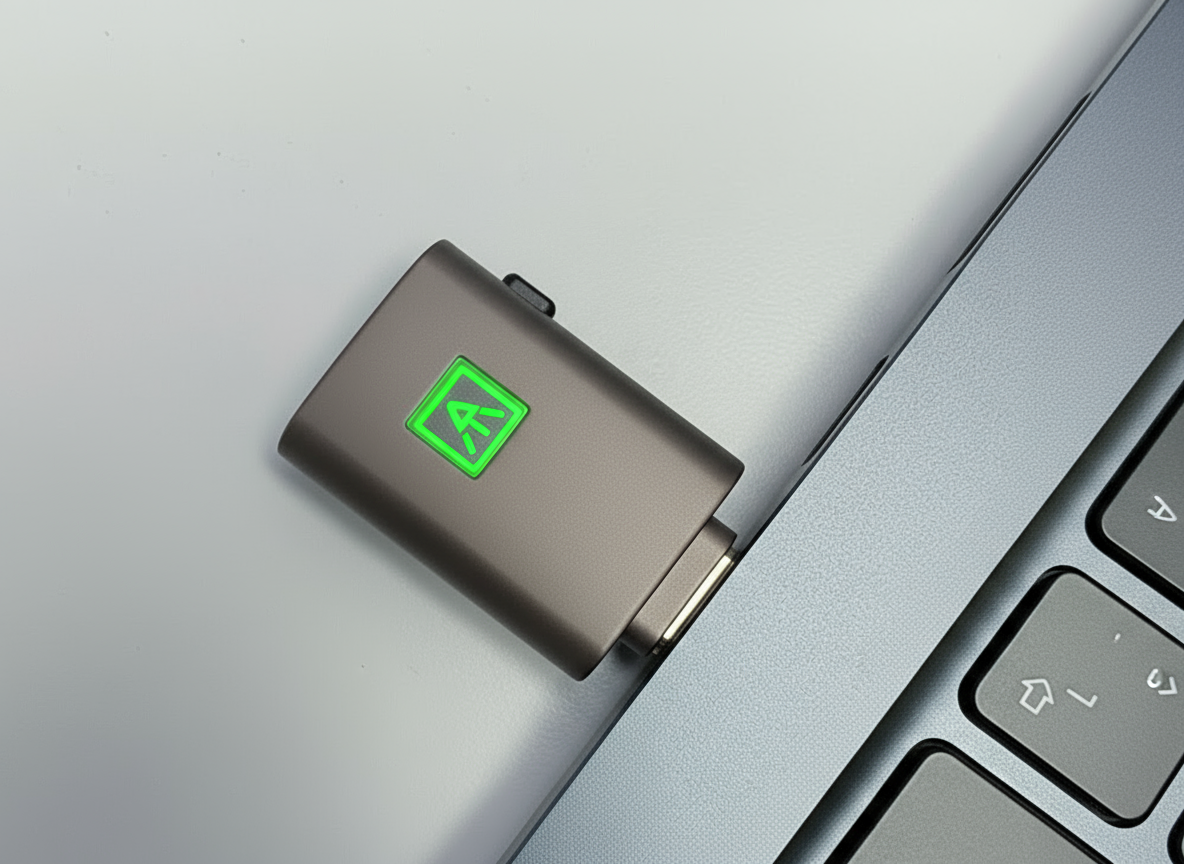
![An ATkey.Pro plugged into a laptop. The LED light is green.]()
🟢 Green (Single Flash)
Successful fingerprint verification or good fingerprint capture
-
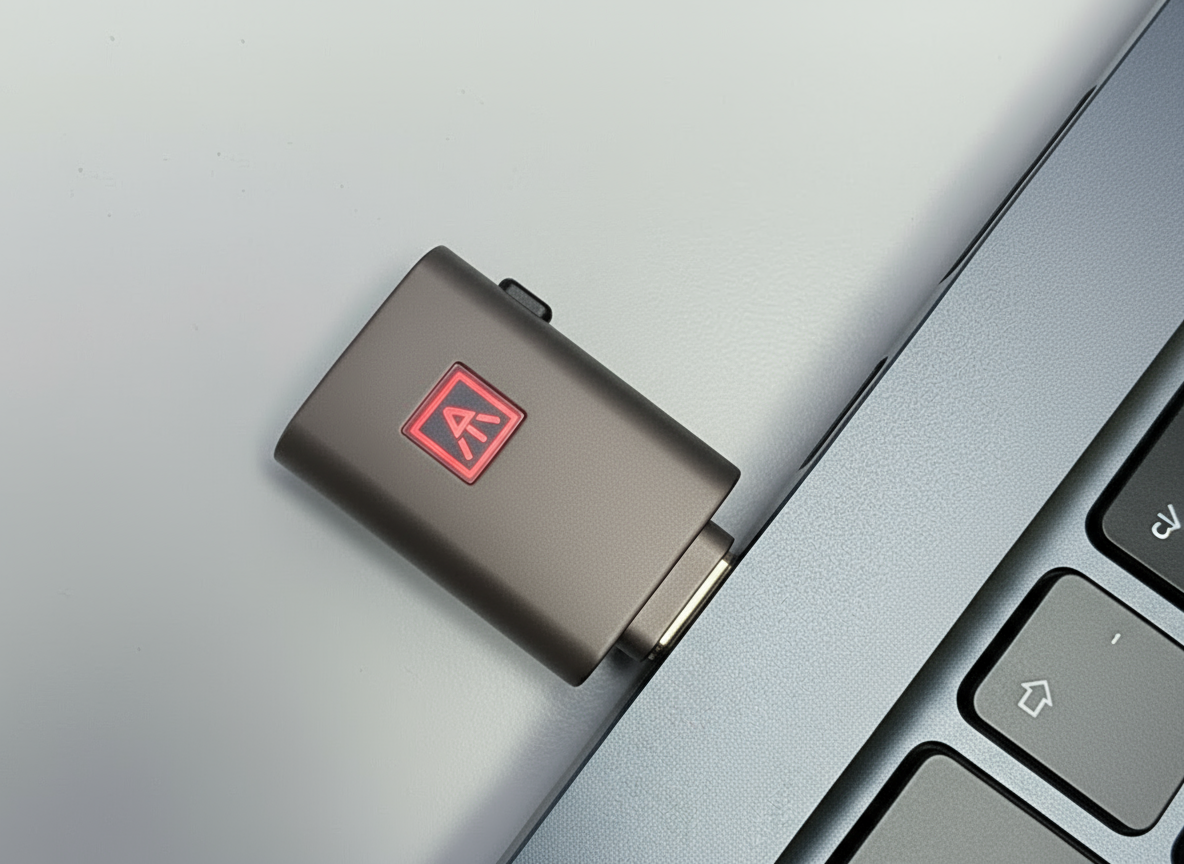
![An ATkey.Pro plugged into a laptop. The LED light is red.]()
🔴 Red (Single Flash)
Failed fingerprint capture or verification error — try again
-
![An ATkey.Pro plugged into a laptop. The LED light is red.]()
🔴 Red (Solid)
Continuous verification failure — re-plug the key to recover.
-
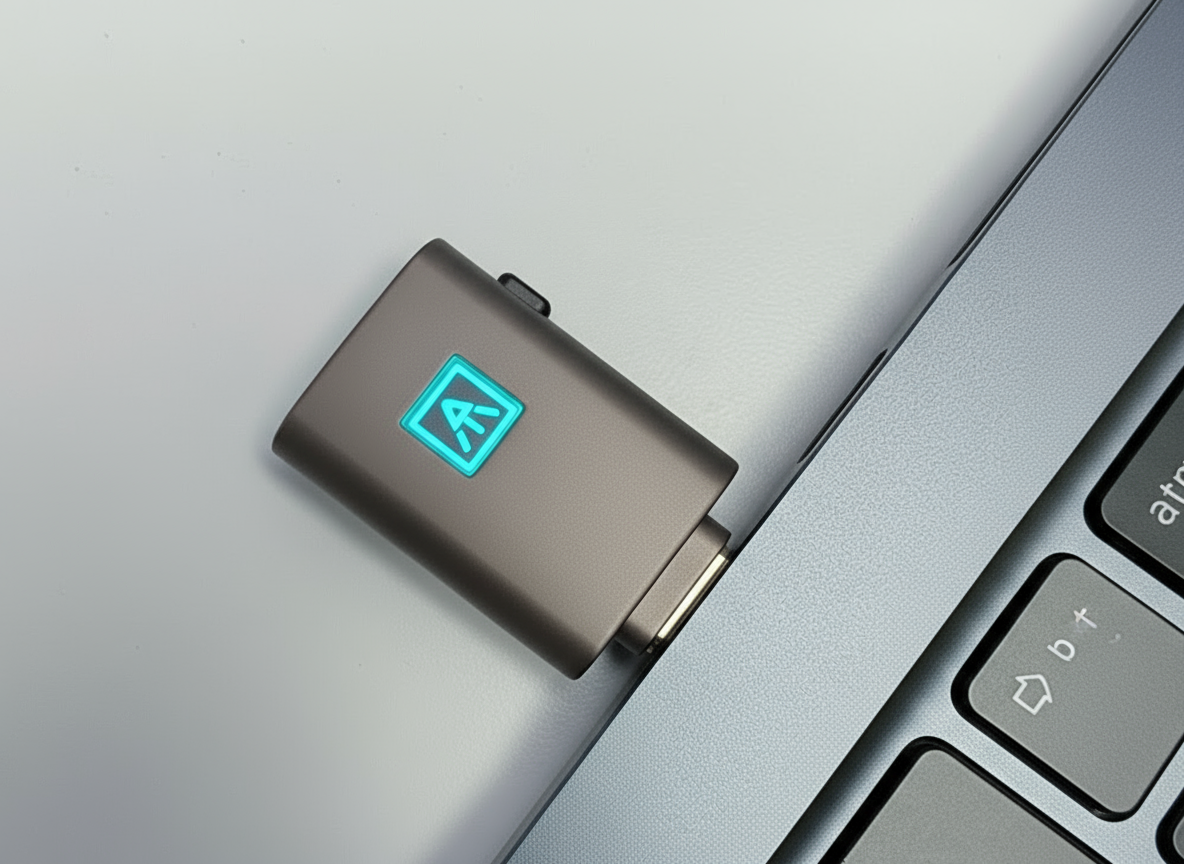
![An ATkey.Pro plugged into a laptop. The LED light is cyan.]()
🩵 Cyan (Flashing)
Requires user presence — touch the fingerprint sensor or press the side button.
Need Help? Meet Your ATKey Setup Assistant
If you’re new to ATKey or setting up multiple devices, our Setup Assistant can walk you through the entire process.