
Get started with your ATKey.Badge — secure, simple, and passwordless.
ATKey.Badge combines the ATKey.Card NFC with a secure holder.
This guide explains device compatibility and walks you through the FIDO2 setup process for ATKey.Badge on PC devices.
For setup with mobile app, PIV smart card configuration, please refer to ATKey.Card NFC user guide.
Device Compatibility
| Feature | ATKey.Card NFC | ATKey.Badge |
|---|---|---|
| Interface | NFC, Smart Card | USB-C, NFC, (Smart Card) |
| Browser FIDO2 Authentication |
Windows with compatible reader - All Major Browsers Mac with compatible reader - Safari iPhone NFC - Chrome & Safari Android NFC - Chrome (U2F only) |
Windows via USB-C - All Major Browsers Mac via USB-C - All Major Browsers iPhone via USB-C - Chrome & Safari Android via USB-C - Chrome |
ATKey.Badge Activation Suppots
| Platform | Via USB-C | Via NFC |
|---|---|---|
| Windows | Windows Account Setting |
(with reader) Windows Account Setting SecurityKey Desktop APP |
| Mac | Chrome Settings |
(with reader) SecurityKey Desktop APP |
| iPhone | - | SecurityKey NFC APP |
| Android | - | SecurityKey NFC APP |
Get Prepared
Unbox and check your ATKey.Badge.
Before you begin, make sure both your ATKey.Badge (ATKey.Card NFC and holder device) are ready for setup
Unbox your ATKey.Badge and check the card and holder device. Insert your ATKey.Card NFC into the holder, gently press and slide it toward the bottom, and ensure the fingerprint sensor aligns with the window.
You’ll find an 8-digit number on the card next to the FIDO2 logo — this is your ATKey keycode, a unique identifier for your ATKey. You may need your keycode later for support, warranty, or enterprise registration.
Get your PC device prepared:
Windows
Mac
To set up with a mobile device, please refer to this
Connect the ATKey.Badge to the PC; a solid blue LED indicates the device is powered on.
Enroll Your Fingerprint
Your fingerprint is the key to your ATKey.Badge — it’s securely stored inside the device and never shared.
You can perform fingerprint enrollment on different operating systems — simply power the key and follow the UI instruction and device’s LED guidance.
-
Go to Settings → Accounts → Sign-in options → Security Key
Click Manage→ Click the holder button when the LED flashes yellow → Enter the Setup dialogue
Follow the on-screen instructions to create a Security Key PIN — required by FIDO2 and used for fingerprint management once enrollment is complete.
Click the Add button in the Security Key PIN section → Enter PIN → Click OK
Follow the on-screen instructions to enroll your fingerprint. Fingerprint enrollment requires continuous 4 successful touches on the sensor. For best results, touch from different angles during the enrollment process to ensure your fingerprint is fully captured and easily recognized in future authentications.
Click the Add button in the Fingerprint section → Enter PIN → Touch the fingerprint sensors 4 times when the LED flashes blue
You can enroll fingerprints from different fingers to match your typical usage habits and ensure easier access across various devices.
-
Open Chrome browser
Navigate to Settings → Privacy & Security → Security → Manage Security Keys (chrome://settings/securityKeys)
Follow the on-screen instructions to create a Security Key PIN — required by FIDO2 and used for fingerprint management once enrollment is complete.
Click Create a PIN → Click the holder button when the LED flashes yellow → Enter the Create PIN dialogue
Follow the on-screen instructions to enroll your fingerprint. Fingerprint enrollment requires continuous 4 successful touches on the sensor. For best results, touch from different angles during the enrollment process to ensure your fingerprint is fully captured and easily recognized in future authentications.
Click Fingerprints → Click the holder button when the LED flashes yellow → Enter the PIN → Enter the Manage fingerprints dialogue
You can enroll fingerprints from different fingers to match your typical usage habits and ensure easier access across various devices.
Click Add → Touch the fingerprint sensors 4 times when the LED flashes blue → Name the fingerprint template
Fingerprint Enrollment Tips:
Make sure your finger and the sensor are clean and dry before you start.
Choose a finger that you naturally use when touching the key.
Enrollment requires four successful touches to complete. For each touch, place your finger on the sensor for about one second to allow the device to capture a full fingerprint. If any errors occur during the process, you will need to restart the enrollment.
Test your fingerprint immediately to confirm smooth recognition.
If recognition fails often, re-enroll the same finger for improved accuracy.
If there’s any unexpected issues happen, try to re-plug the key or restart the session on your PC device
LED Indicator Guide
-
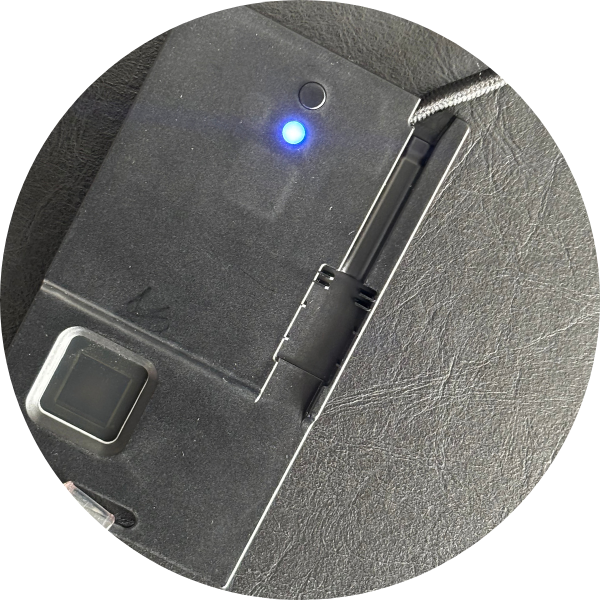
![Close-up of an ATKey.Badge plugged in. The LED is blue.]()
🔵 BLUE (Solid)
Device powered on & card well connected — ready for use
-
![Close-up of an ATKey.Badge plugged in. The user authenticates with the fingerprint and the LED turns green.]()
🔵 Blue (Flashing)
Need to verify fingerprint
-
![Close-up of an ATKey.Badge plugged in. The LED is flashing white requiring the user to press the physical button on the back.]()
🟡 Yellow (Flashing)
Requires user presence — press the button on the device.
-
![Close-up of an ATKey.Badge plugged in. The user authenticates with the fingerprint and the LED turns green.]()
🟢 Green (Single Flash)
Successful fingerprint verification or good fingerprint capture
-
![Close-up of an ATKey.Badge plugged in. The user authenticates with the fingerprint, is unsuccesful and the LED turns red.]()
🔴 Red (Single Flash)
Fingerprint verification error — try again
-
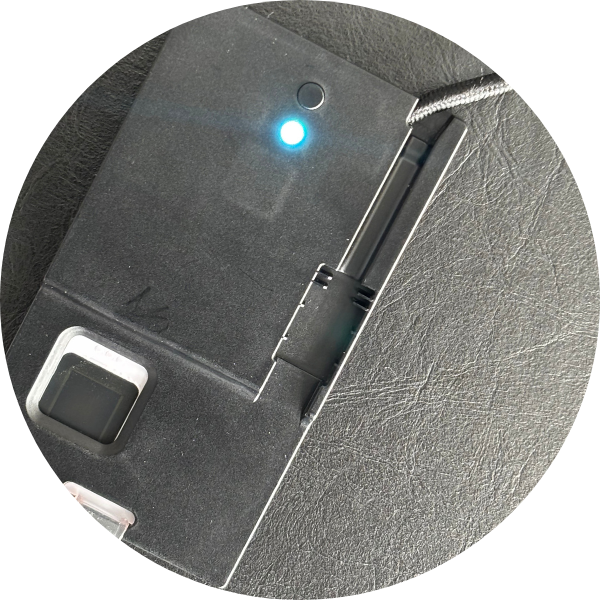
![Close-up of an ATKey.Badge plugged in. The LED is cyan.]()
🩵 Cyan
Device powered on, but the card is not connected — insert the card
Frequently Asked Questions
-
The device allows for 15 consecutive failures (as per the ATKey.Card NFC specification).
-
Consistent with other ATKey products, the device will block any Registration or Authentication operations that require User Verification (UV). To unlock the fingerprint functionality, you must connect the device to a client and perform an operation using a PIN.
-
The counter is shared. The internal hardware (ATKey.Card NFC) maintains a single counter for remaining fingerprint retries, meaning a failure on NFC counts towards the same limit as a failure on USB.
Need Help? Meet Your ATKey Setup Assistant
IIf you’re new to ATKey or setting up multiple devices, our Setup Assistant can walk you through the entire process.