
ATKey.Pro User Guide
ATKey.Pro is a fingerprint authenticated FIDO2 hardware key available in USB A and USB C. It supports FIDO2 authentication to make any login phishing resistant.
Anatomy of the ATKey.Pro
USB A
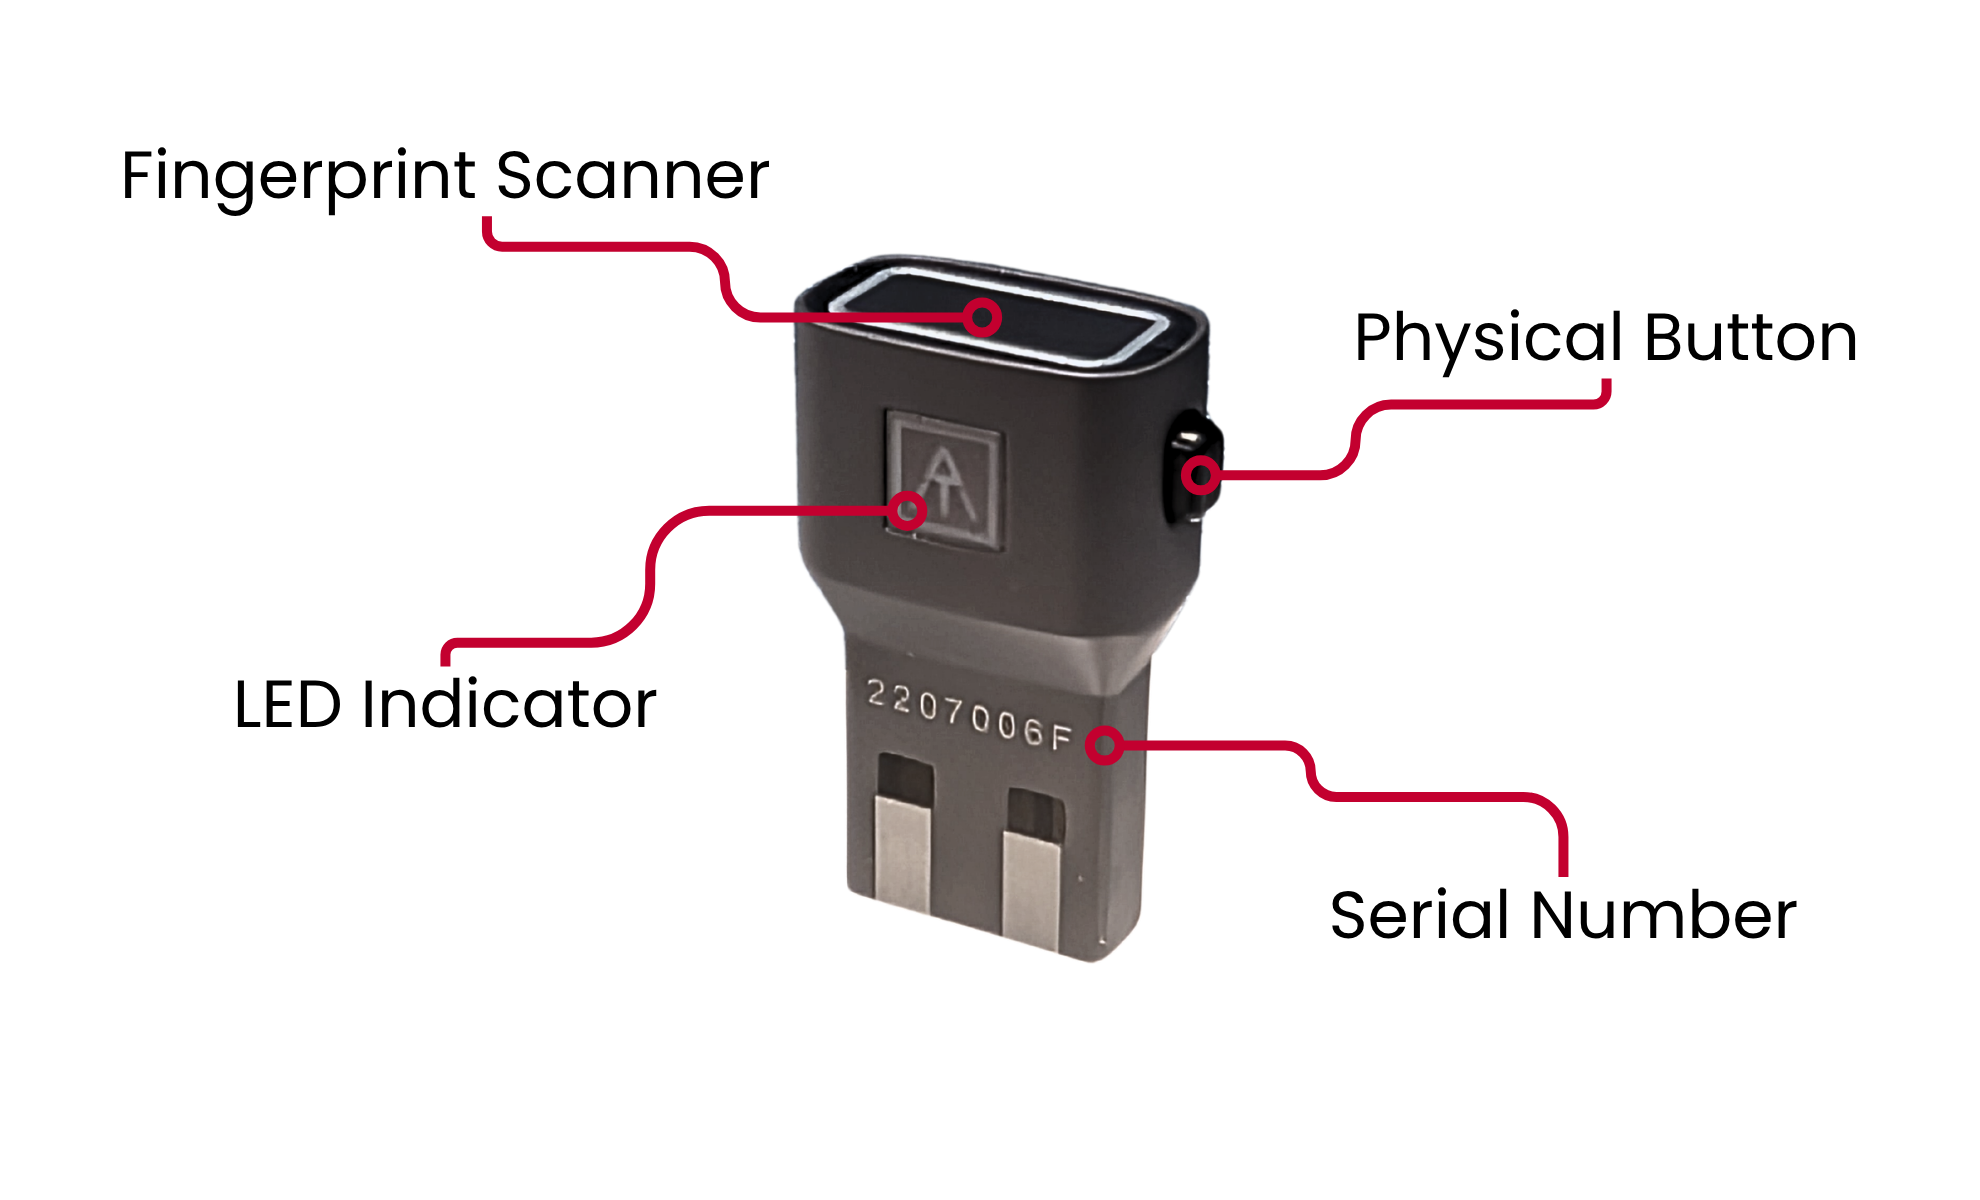
USB C
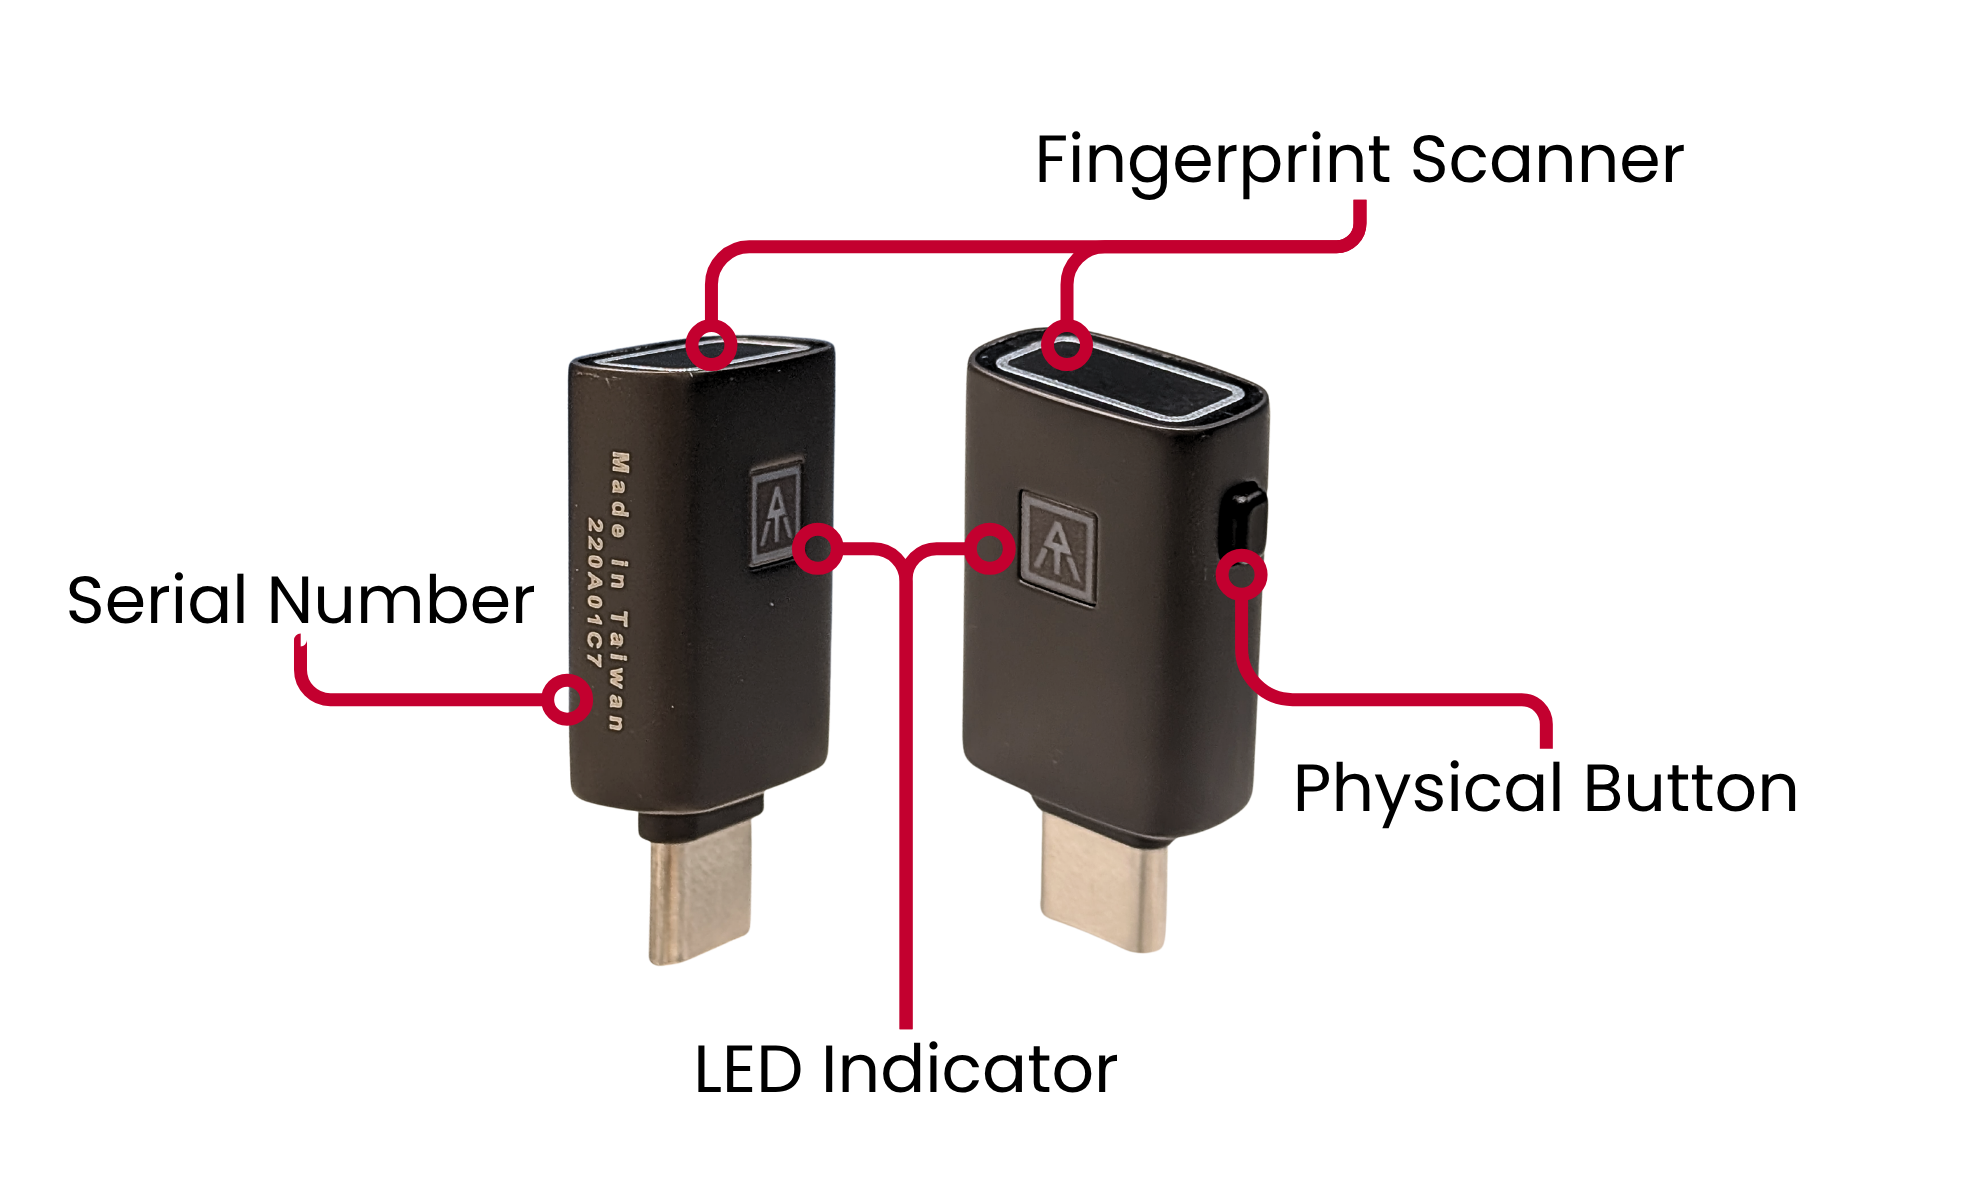
Serial numbers are a unique 8 digits, hexadecimal codes that are not only printed on the key but also embedded in the firmware. They can be used to map users to their key in the lifecycle management software.
How to Enroll Your Fingerprint in Your ATKey.Pro
There are 3 possible types of verification setup for ATKey.Pro
PIN and Fingerprint
Fingerprint Enrollment Tips:
Choose a finger that will naturally fit your ATKey.Pro placement.
Make sure your finger and the sensor are clean and dry before you start
Enrollment requires about 12 good touches to complete. For each touch, place your finger on the sensor for about one second, allowing the device to capture a full print. The LED will indicate the result 🟢 green for a good capture, 🔴 red for a bad one.
Test your fingerprint immediately to confirm smooth recognition.
If recognition fails often, re-enroll the same finger for improved accuracy.
To start
Or, Using SecurityKey Desktop
Download and install SecurityKey Desktop
Launch the app (as administrator on Windows)
Go to the FIDO2 tab
Under PIN management click SET UP
Create a PIN for your ATKey.Pro
Under Fingerprint management click ADD
Tap the fingerprint sensor successfully 12 times
Name your fingerprint in a way that is easy to remember
All done, now is ready to use
On Windows 10 & 11
Go to Settings → Accounts → Sign-in options → Security Key.
Plug in your ATKey and click Manage, follow the on-screen instructions.
Follow the on-screen instructions to create a Security Key PIN. A PIN is required by the FIDO2 protocol, it will be used for fingerprint management once enrollment is complete.
Follow the on-screen instructions to enroll your fingerprint. Fingerprint enrollment on ATKey.Pro requires about 12 successful touches. For best results, make sure to touch the sensor from different angles your fingerprint will be fully captured and easily recognized during authentication.
You can enroll up to 10 fingerprints to match your typical usage habits and ensure easy access.
On MacOs, Linux, Chromebook
Install and open Chrome browser
Navigate to Settings → Privacy & Security → Security → Manage Security Keys (chrome://settings/securityKeys)
Follow the on-screen instructions to create a Security Key PIN. A PIN is required by the FIDO2 protocol, it will be used for fingerprint management once enrollment is complete.
Follow the on-screen instructions to enroll your fingerprint. Fingerprint enrollment on ATKey.Pro requires about 12 successful touches. For best results, make sure to touch the sensor from different angles your fingerprint will be fully captured and easily recognized during authentication.
You can enroll up to 10 fingerprints to match your typical usage habits and ensure easy access.
Only Fingerprint - Standalone Mode
Fingerprint Enrollment Tips:
Choose a finger that will naturally fit your ATKey.Pro placement.
Make sure your finger and the sensor are clean and dry before you start
Enrollment requires about 12 good touches to complete. For each touch, place your finger on the sensor for about one second, allowing the device to capture a full print. The LED will indicate the result 🟢 green for a good capture, 🔴 red for a bad one.
Test your fingerprint immediately to confirm smooth recognition.
If recognition fails often, re-enroll the same finger for improved accuracy.
Enrollment Process
Connect your ATKey.Pro into a USB power source (e.g., power bank or charger). The LED will light up BLUE.
Press the side button three times quickly to enter Standalone Enrollment Mode.
The LED flashes WHITE while switching modes, wait a few seconds for it to activateStart touching the fingerprint sensor in rhythm with the LED’s flashing tempo.
The LED lights GREEN for a good capture and RED for an incomplete or bad capture. It takes about 12 touches to complete the fingerprint enrollment.After the fingerprint enrollment is complete, the LED will return to BLUE, indicating the ATKey.Pro has exited Standalone Enrollment Mode and is ready for use.
To enroll additional fingerprints from different fingers, press the side button three times quickly again. After the first fingerprint is enrolled you may be asked to verify a previously enrolled fingerprint to enter Standalone Enrollment Mode, the LED will flash green when verification is required.
To exit Standalone Enrollment Mode, press the side button once. The LED will turn BLUE, indicating the device has returned to normal mode.
N.B.
If a PIN has already been set up on the ATKey.Pro Standalone Enrollment is not possible.
If Standalone Enrollment is used to register the fingerprint on your ATKey.Pro any scenario requiring a PIN code will not be supported.
Only PIN
To Start
Using SecurityKey Desktop
Download and install SecurityKey Desktop.
Launch the app (as administrator on Windows).
Go to the FIDO2 tab.
Under PIN management click SET UP.
Create a PIN for your ATKey.Pro.
You are all set.
On Windows 10 & 11
Go to Settings → Accounts → Sign-in options → Security Key.
Plug in your ATKey and click Manage, follow the on-screen instructions.
Follow the on-screen instructions to create a Security Key PIN.
On MacOs, Linux, Chromebook
Install and open Chrome browser.
Navigate to Settings → Privacy & Security → Security → Manage Security Keys (chrome://settings/securityKeys).
Follow the on-screen instructions to create a Security Key PIN.
When verification is required the user will be prompted to touch the fingerprint scanner and then type in their PIN.
In this case there is no fingerprint matching happening only presence sensing to prevent malicious remote access.
LED Indicator Guide
-
![An ATkey.Pro plugged into a laptop. The LED light is blue.]()
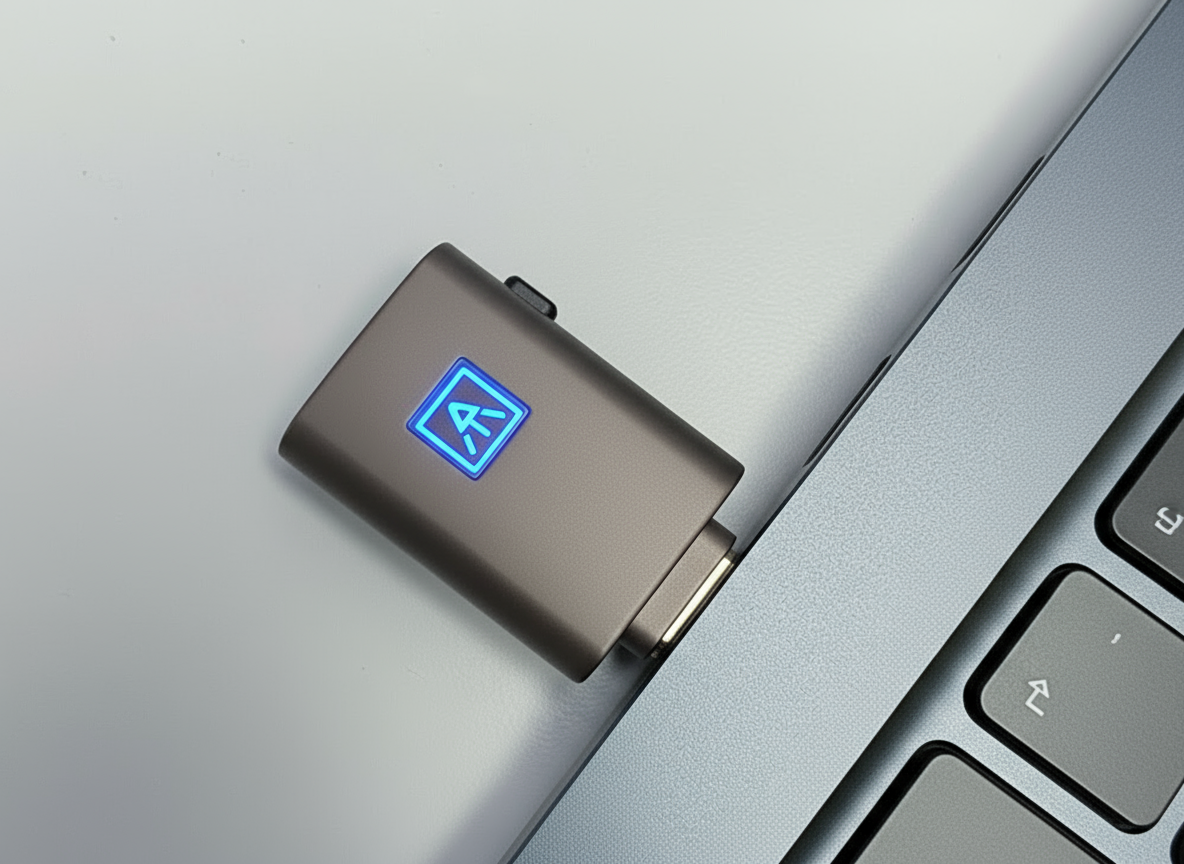
🔵 Blue (Solid)
Device powered on — ready for use
-
![An ATkey.Pro plugged into a laptop. The LED light is blue.]()
🔵 Blue (Flashing)
Need to verify fingerprint
-
![An ATkey.Pro plugged into a laptop. The LED light is green.]()
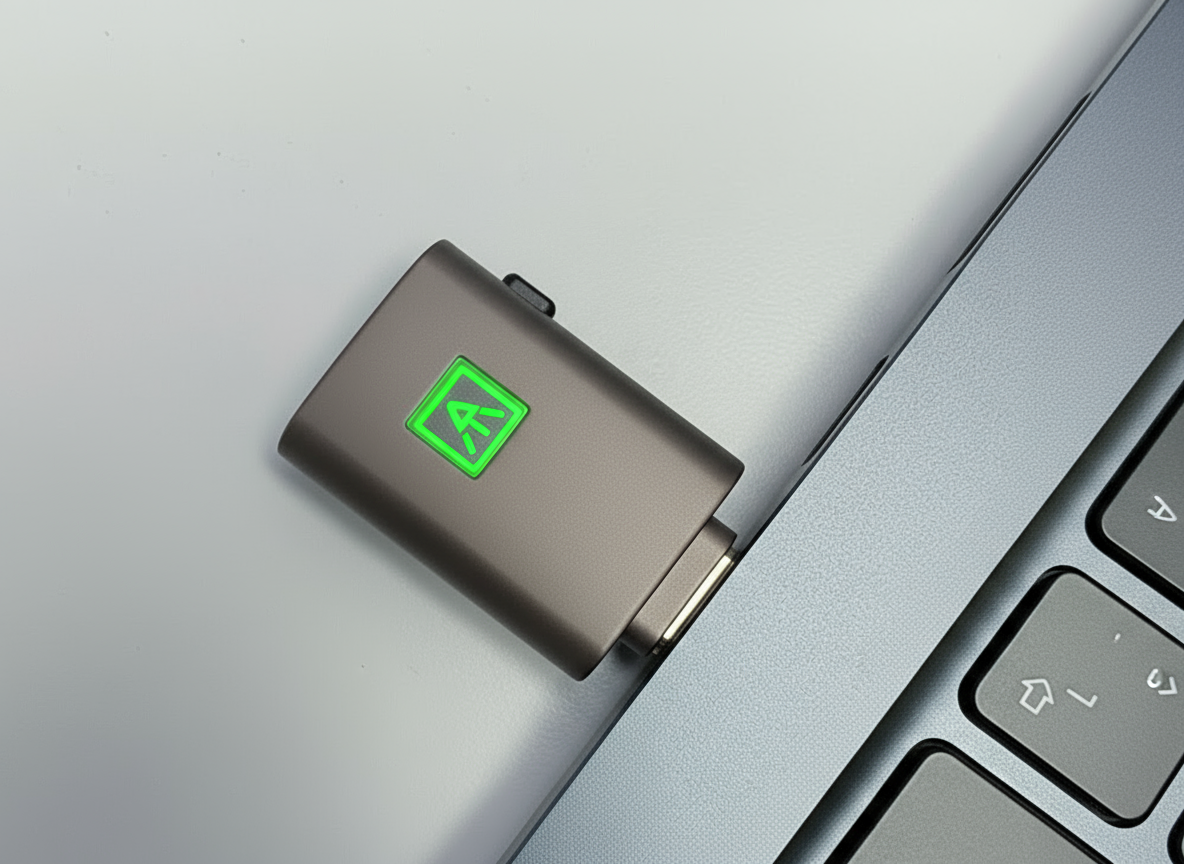
🟢 Green (Single Flash)
Successful fingerprint verification or good fingerprint capture
-
![An ATkey.Pro plugged into a laptop. The LED light is red.]()
🔴 Red (Single Flash)
Failed fingerprint capture or verification error — try again
-
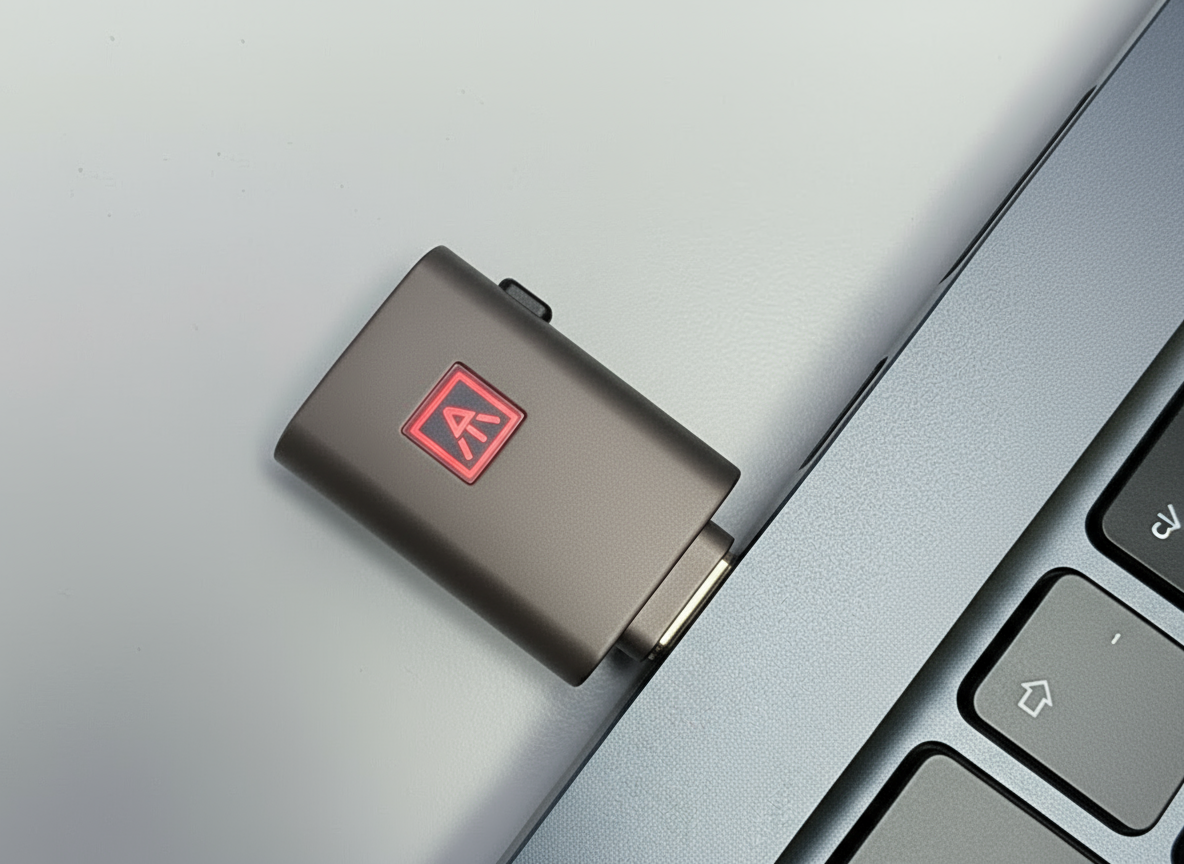
![An ATkey.Pro plugged into a laptop. The LED light is red.]()
🔴 Red (Solid)
Continuous verification failure — re-plug the key to recover.
-
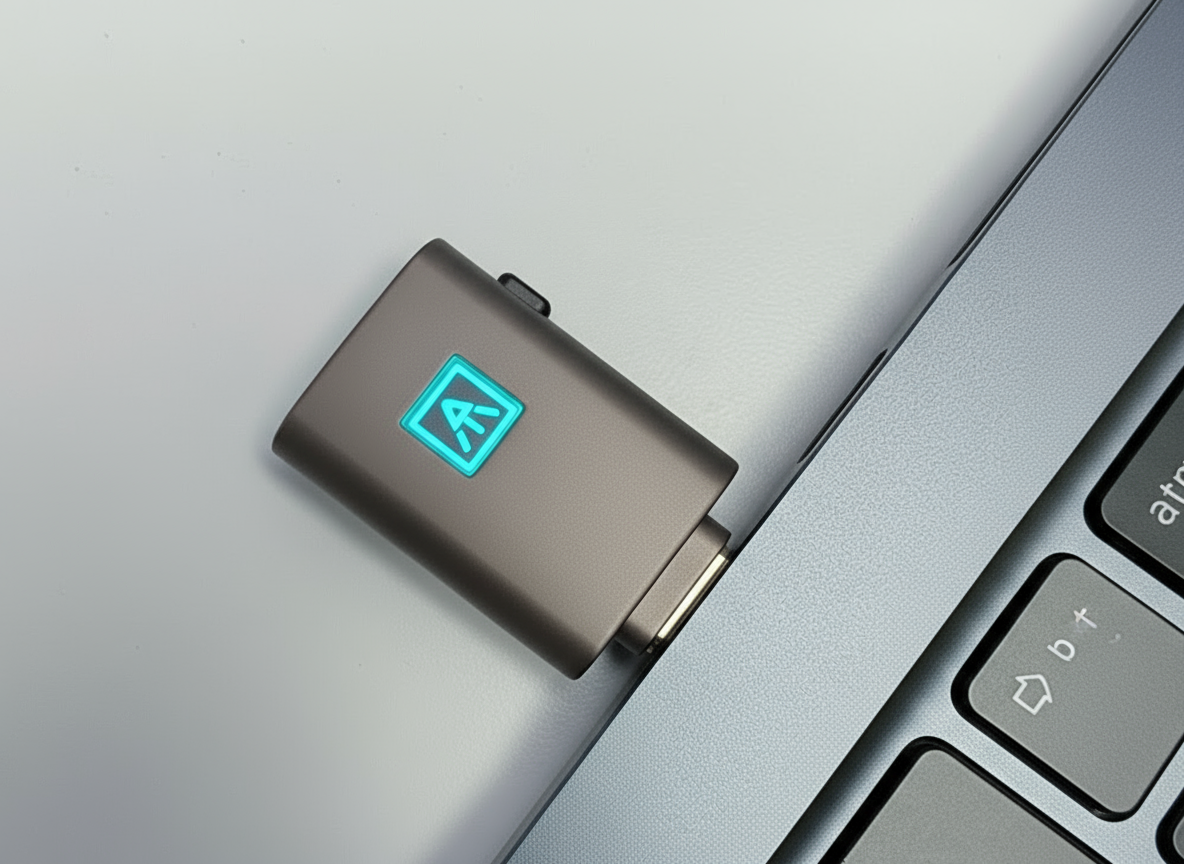
![An ATkey.Pro plugged into a laptop. The LED light is cyan.]()
🩵 Cyan (Flashing)
Requires user presence — touch the fingerprint sensor or press the side button.
Register with Online Services
-
![A person holding a smartphone with the screen displaying a zero balance, with a Google search page on a laptop in the background showing search suggestions related to SumUp.]()
Google
-
![Close-up of a smartphone screen displaying a folder named 'Microsoft' with various app icons including Office, OneNote, Outlook, PowerPoint, Teams, Word, SharePoint, SharePoint, Edge, Microsoft Stream, and other Microsoft apps.]()
Microsoft
-
![Close-up of a smartphone screen displaying social media apps, including Facebook with a notification badge showing the number one.]()
Facebook
-
![Close-up of a computer screen displaying the YouTube homepage with recommended videos.]()
YouTube
-
![Close-up of a computer monitor displaying the GitHub webpage with the GitHub logo and search bar.]()
Github
-
![Screenshot of GitLab interface showing project issues, merge requests, pipelines, and related options.]()
Gitlab
-
![A stylized fingerprint]()
Okta
-
![Close-up of the IBM logo on a black speaker, with a focus on the logo, in black and white.]()
IBM
-
![A stylized fingerprint]()
Atlassian








Limits and Protections
For firmware before 2.0.4
The key has a soft lock every 3 failed attempts, requiring the user to unplug it and plug it again to have 3 more attempts. Maximum attempts are 15, 5 cycles of 3. If all 15 attempts fail the user is required to use the PIN to unlock. If no PIN is present or the PIN is inserted wrong 8 times the key is hard locked, requiring factory reset (wiping all credentials) to be used again.
From firmware 2.0.4
The key now allows for 25 consecutive fingerprint attempts. At 25 failed attempts the key is soft locked and requires the use of the PIN to be unlocked. If no PIN is present or the PIN is inserted wrong 8 times the key is hard locked, requiring factory reset (wiping all credentials) to be used again. If no PIN is present or the PIN is inserted wrong 8 times the key is hard locked, requiring factory reset (wiping all credentials) to be used again.
From firmware 2.0.5
ATKey.Pro supports PIN fallback for authentication. This setting is switch off by default and requires activation through SecurityKey Desktop settings.
Resetting Your ATKey
If you want to assign an ATKey.Pro to a different user you may need to eliminate all the credentials present in the key. This can be done using the OS or the browser. Alternatively using one of our management tools.
Troubleshooting
Suddenly the Matching is Unreliable
If there were no issues with the matching before you can try two approaches:
Re-calibrate the fingerprint sensor.
To do so, download SecurityKey Vault and start the re-calibration tool.
Re-enroll the same fingerprint.
Creates a second image for the same fingerprint, especially effective if the first image was taken all from the same angle or in a position that is not the one when naturally used.
The ATKey.Pro has Been Lost or Broken
ATKey.Pro provides one of the highest security level possible, which also mean that there is no recovery process. A new ATKey.Pro must be issued and it must be re registered with all the services and credentials.
The lost ATKey.Pro can be removed as a credential from the backend of the various accounts and services but without teh fingerprint or the PIN is useless.
A Member of the Team Left, How I Can Move the ATKey.Pro to Another User?
Once you received the ATKey.Pro back from the original user you can reset it and provide it to a new user ready to be connected to a new account.
Need Help? Meet Your ATKey Setup Assistant
If you’re new to ATKey or setting up multiple devices, our Setup Assistant can walk you through the entire process.